Skip to content

Japan / City map

Mount Fuji Minecraft Map

Start at the Fuji Subaru Line Fifth Station on Mount Fuji’s northern slope. Follow the Yoshida Trail past the hut sites, then pick a point on the summit rim and look into the crater. The 44.24 km² map uses OpenStreetMap and elevation data. Download it for Java or Bedrock, or open the Java world in the browser player.

Java Edition · Bedrock Edition

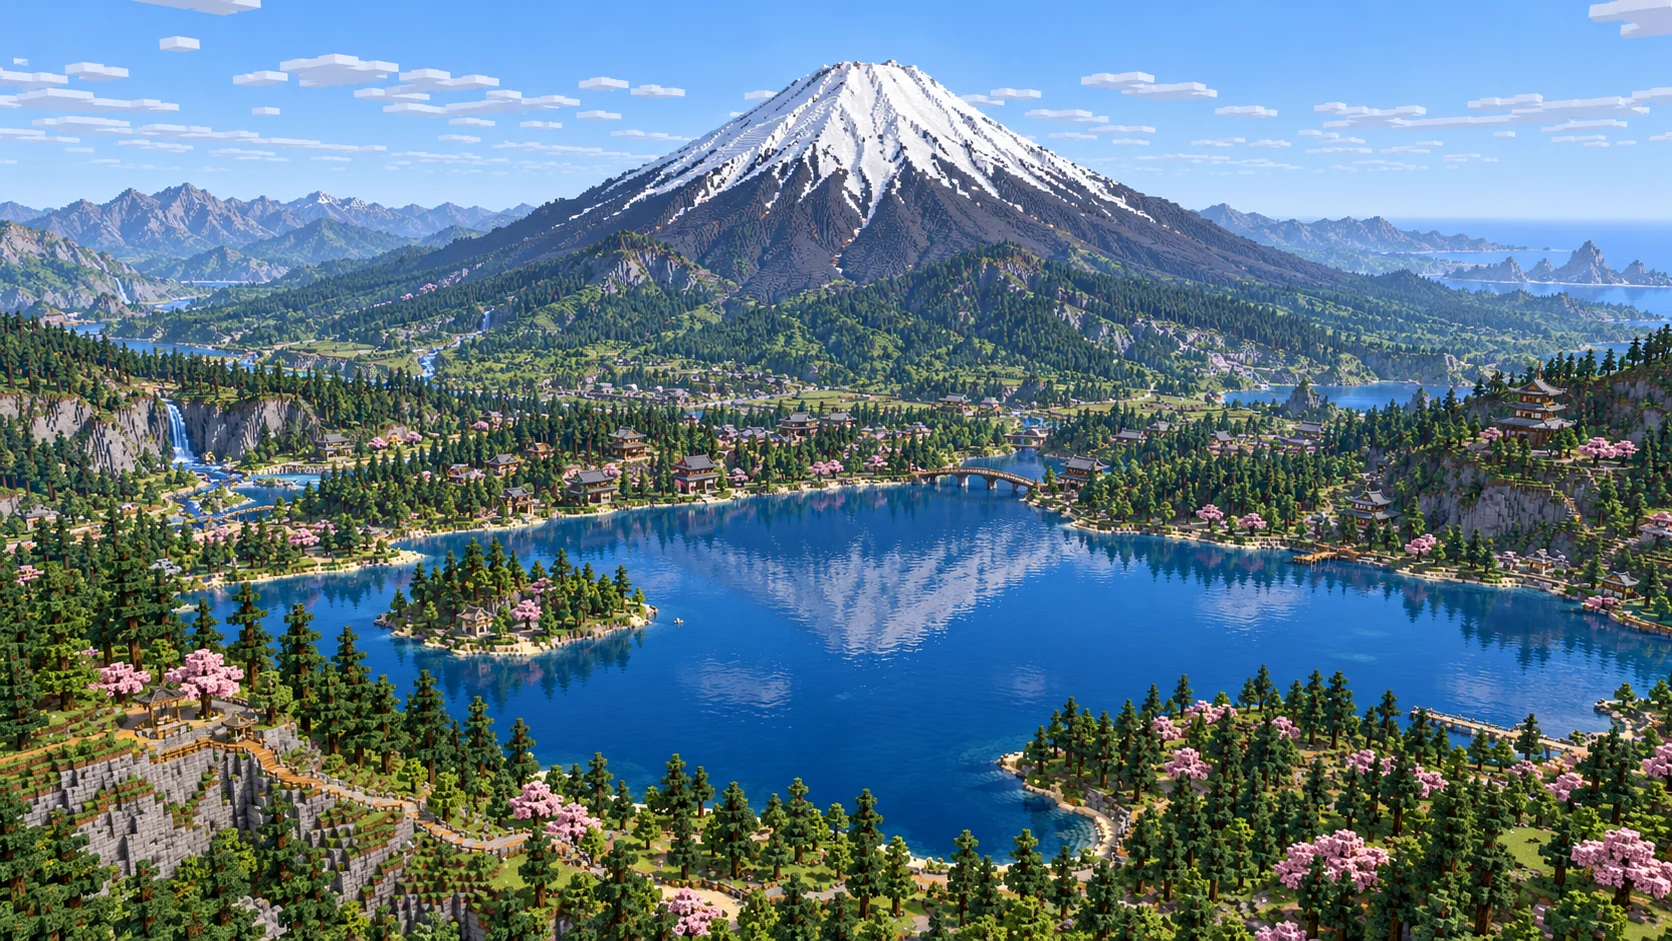
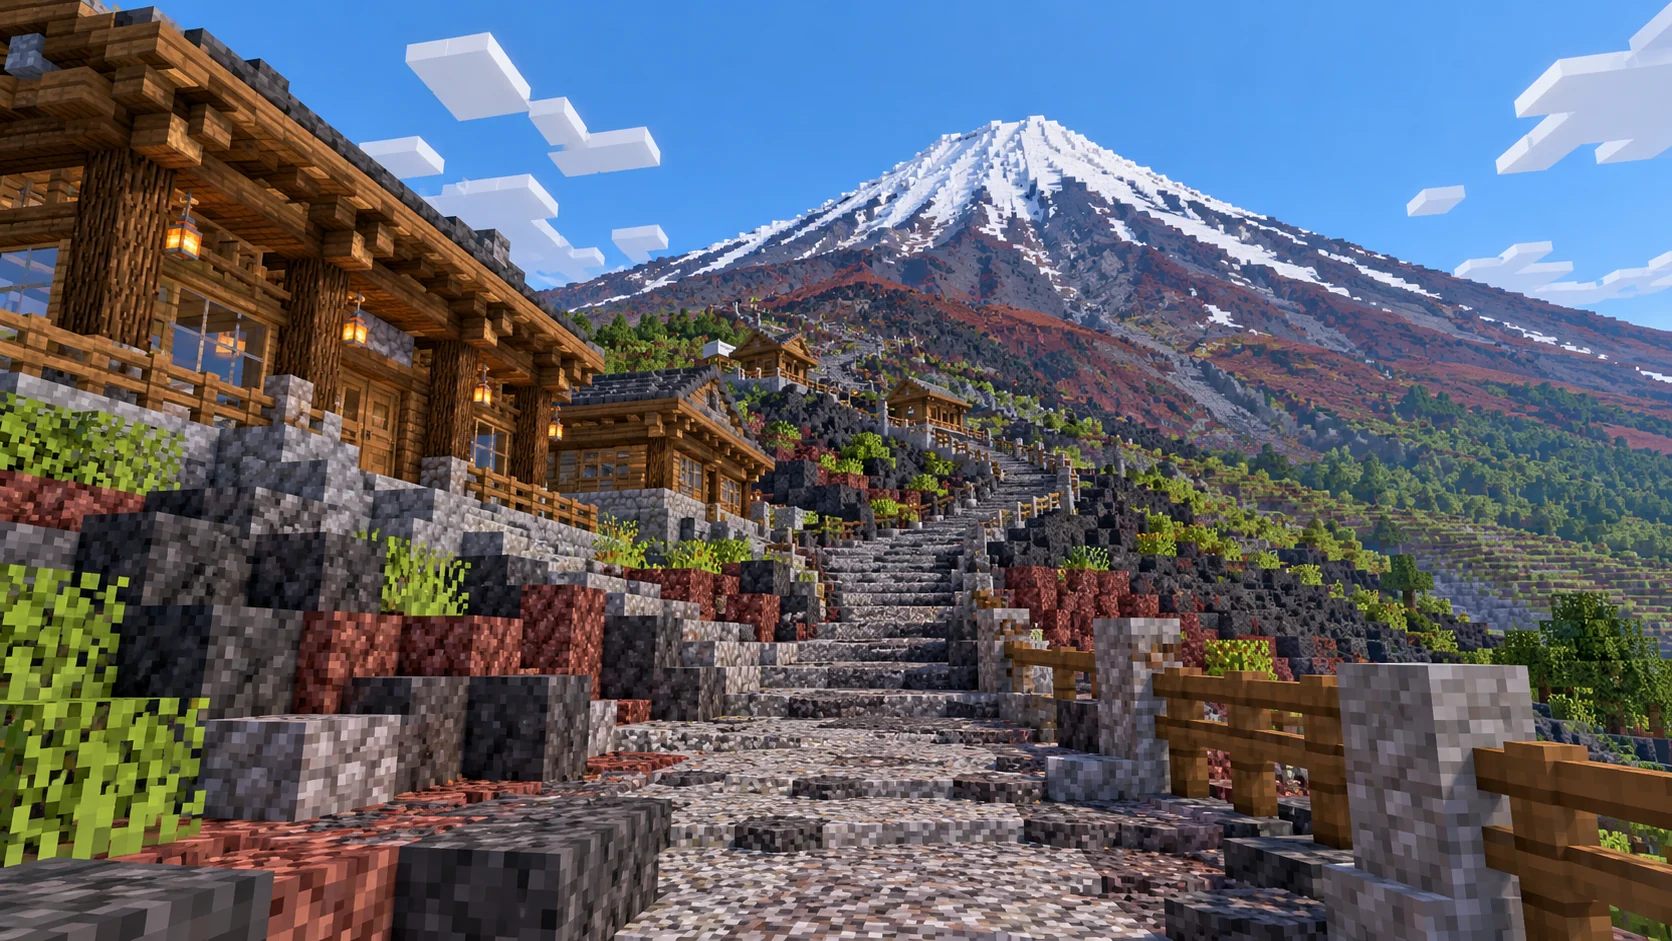
Block illustration of Mount Fuji’s snow capped cone above a blue lake, dark volcanic slopes and forest
Illustrations. Generated worlds follow OpenStreetMap data and differ in detail.
Starting area
Mount Fuji summit, Yoshida Trail and Subaru Line Fifth Station
Size
44.2 km²
Editions
Java & Bedrock
Download
Ready to play
Data
OpenStreetMap

01 / Overview

From the Fifth Station to the summit rim

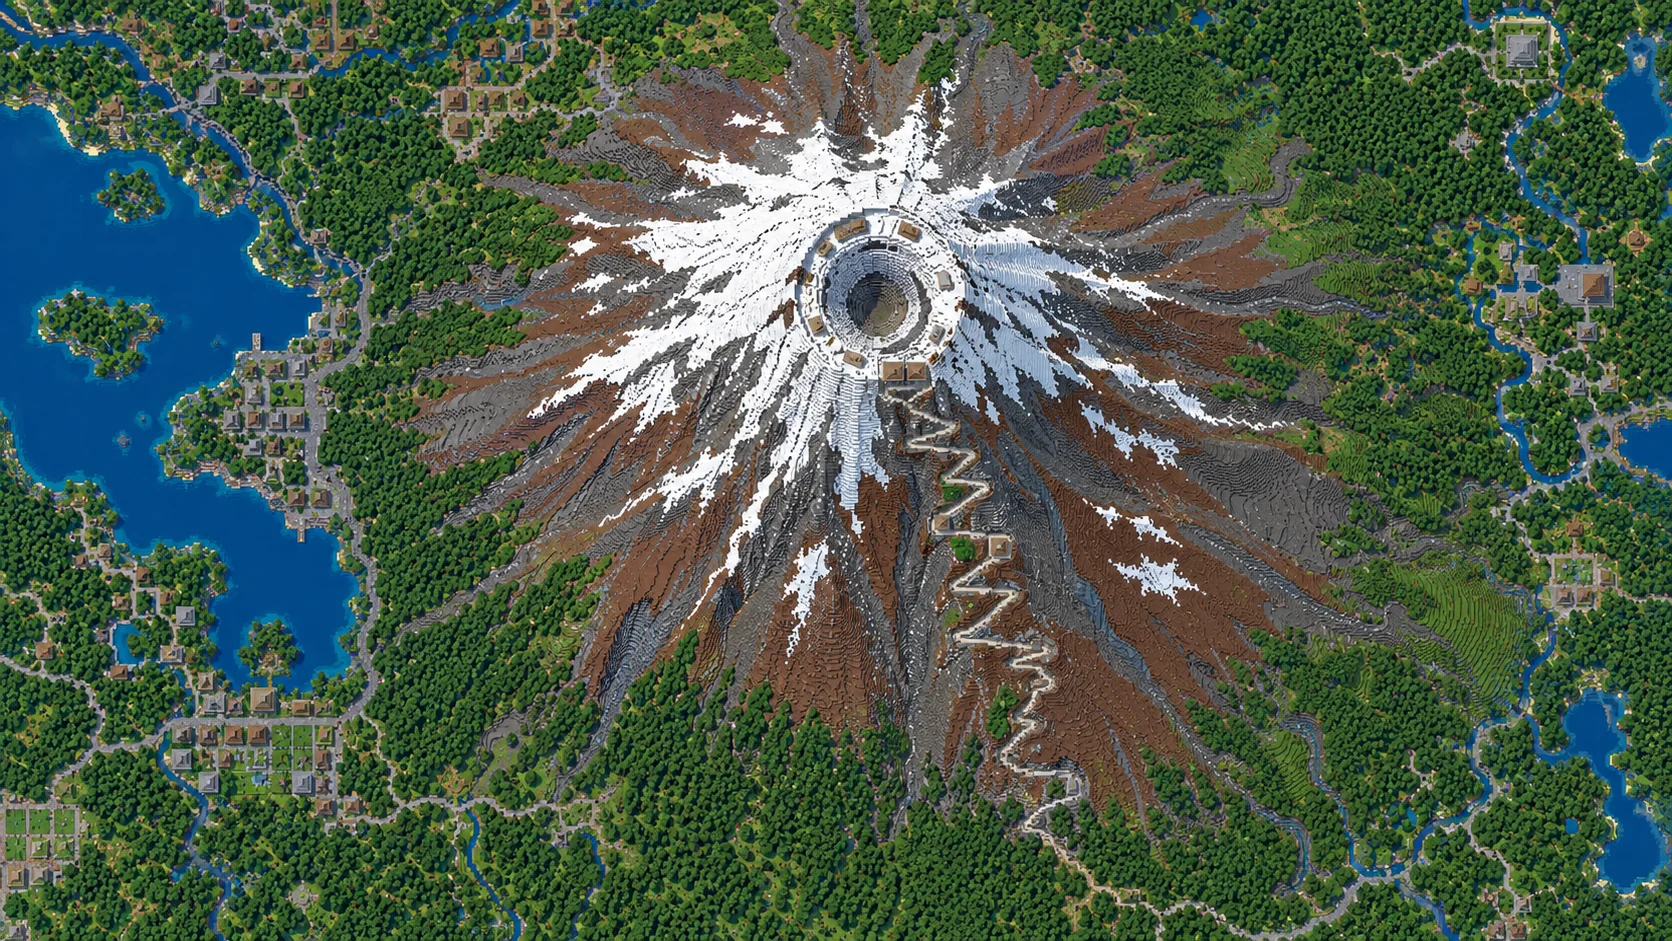
The download covers a rectangle about 5.9 km wide and 7.5 km from north to south. The Subaru Line trailhead is near the northern edge, and Fujinomiya Fifth Station is near the southern edge. Kengamine and the large summit bowl are in between. The rectangle reaches east to Mount Hoei, so approaching from the south gives you a view of a separate crater on the flank before you get to the summit rim.

On the north side, the Yoshida route starts with a traverse from the road end rather than a straight line up the cone. Use the road turnaround and the small cluster of buildings to get oriented. Higher up, the trail turns back and forth over exposed ground. The real Yoshida ascent from the Subaru Line Fifth Station is about 6.8 km. A path you build in the game will depend on how much of that route you follow and where you smooth its steps.

Near the top, the upper Yoshida and Subashiri routes reach the same side of the crater. From there the view switches from the outer slope to the interior bowl. Choose a corner of the rim before you build anything tall. On multiplayer worlds it helps to give each player a turn around the same rim first, so everyone agrees which dips should stay open and where a lookout can be added.

Lake Kawaguchi is lower and farther north than the area in the download. The lake shown in the gallery belongs to the landscape illustration. To work at lake level, use the separate preset around Oishi Park and Kawaguchiko Bridge. The lower Subashiri and Gotemba trailheads also have a separate selection to the east.

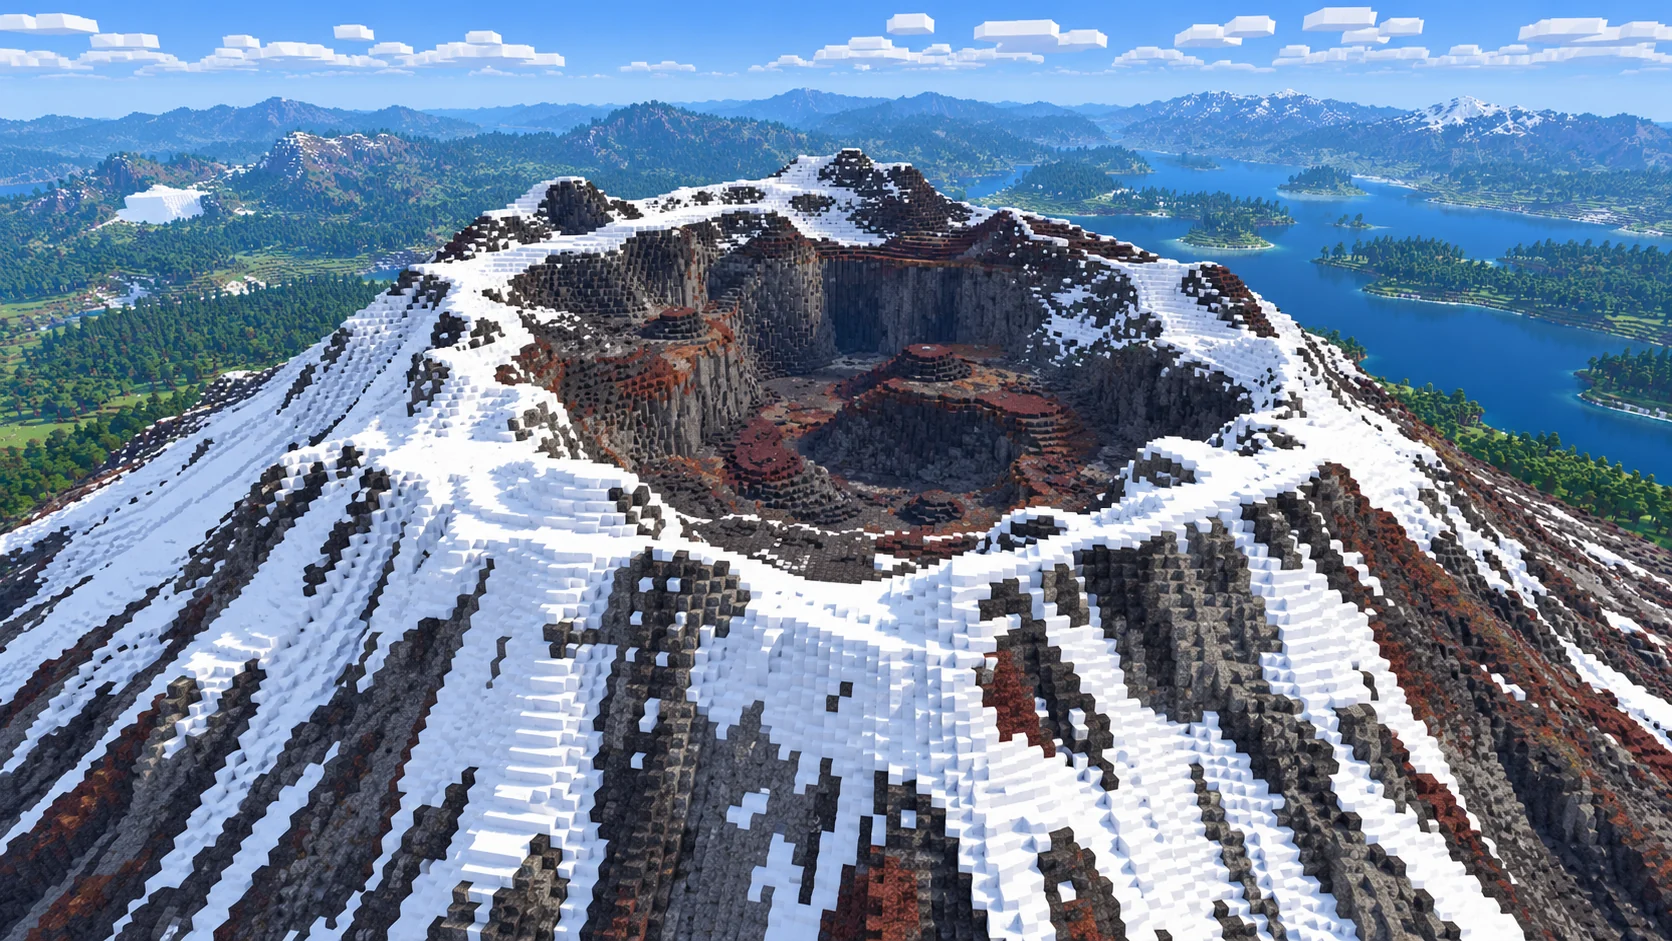
Close block illustration of Mount Fuji’s summit crater with a layered rim, a deep bowl and patches of snow
Illustrations. Generated worlds follow OpenStreetMap data and differ in detail.

02 / Inside the map

What's included in the Mount Fuji map

The recommended starting area covers Fuji Subaru Line Fifth Station, Komitake Shrine, Yoshida Trail, Sixth Station, Seventh Station, Eighth Station, the Yoshida and Subashiri summit entrance, Kusushi Shrine, the Ohachimeguri summit rim, Kengamine, the summit inner shrine, the upper Gotemba approach, Fujinomiya Fifth Station, Mount Hoei and the Hoei craters. Places marked as separate presets are outside it. Open them from the customize section below.

  • Starting area

    Fuji Subaru Line Fifth Station and Komitake Shrine

    The northern starting area follows the end of the Subaru Line road, where the real trailhead is about 2,305 m above sea level. Komitake Shrine is beside the building cluster. Leave a clear space at the road end in your world. A trail board there can show which way to start toward the Sixth Station and where to return after a trip around the rim. Build the shrine gates and roof as separate projects beside the arrival area.

  • Starting area

    Yoshida Trail, Sixth Station and the hut sites above

    The upper route changes character around the station groups. The terrain gives you long slopes below and a series of tighter turns as you climb toward the seventh and eighth stations. Build a short route between two hut sites before making the whole climb continuous. A short landing at each tight bend is easier to see from below than a row of signs tucked against the uphill side.

  • Starting area

    Summit crater, Ohachimeguri and Kengamine

    The summit rim trail is called Ohachimeguri. Kengamine, the real high point at 3,776 m, stands on the southwest rim. Follow the rim from the Yoshida summit entrance to reach it. In the Java download, the Kengamine point reaches Y 304 and a sampled point in the bowl sits at Y 266. Build along the rim and leave gaps between lookouts so you can see the inward slope.

  • Starting area

    Upper Subashiri approach and Kusushi Shrine

    The Subashiri route joins the Yoshida ascent at the Original Eighth Station. Near their shared entrance at the summit, the Kusushi Shrine site gives you a place to finish an uphill build. Put the main wayfinding marker before the routes come together. From the upper trail, players should be able to choose between a quick stop near the shrine and a circuit of the crater.

  • Starting area

    Fujinomiya Fifth Station and the southern climb

    On the south side, Fujinomiya Fifth Station is a different trailhead from the Subaru Line stop. The real south route is shorter and starts higher, at about 2,400 m. Try a second route here if you want two groups to meet on the summit. Use a different marker material at its entry so players arriving at the crater know which side brings them back to each start.

  • Starting area

    Mount Hoei and its craters

    The Hoei eruption of 1707 left craters on the southeast flank. You can look for the rim on that side without following the route to the highest point. In the game, mark the break in the slope with a low path and leave room for the walls of the smaller bowl. The edge above it is a different stop from the summit, and a trail between the two makes the change in relief easy to see.

  • Separate preset

    Lake Kawaguchi and the lower eastern trailheads

    These are separate selections. Use the Lake Kawaguchi preset for a quay between the bridge and the north shore or select the lower eastern slopes around Subashiri and Gotemba. The main download focuses on the upper mountain. It includes the approaches near the top without extending all the way down to the lower trailheads.

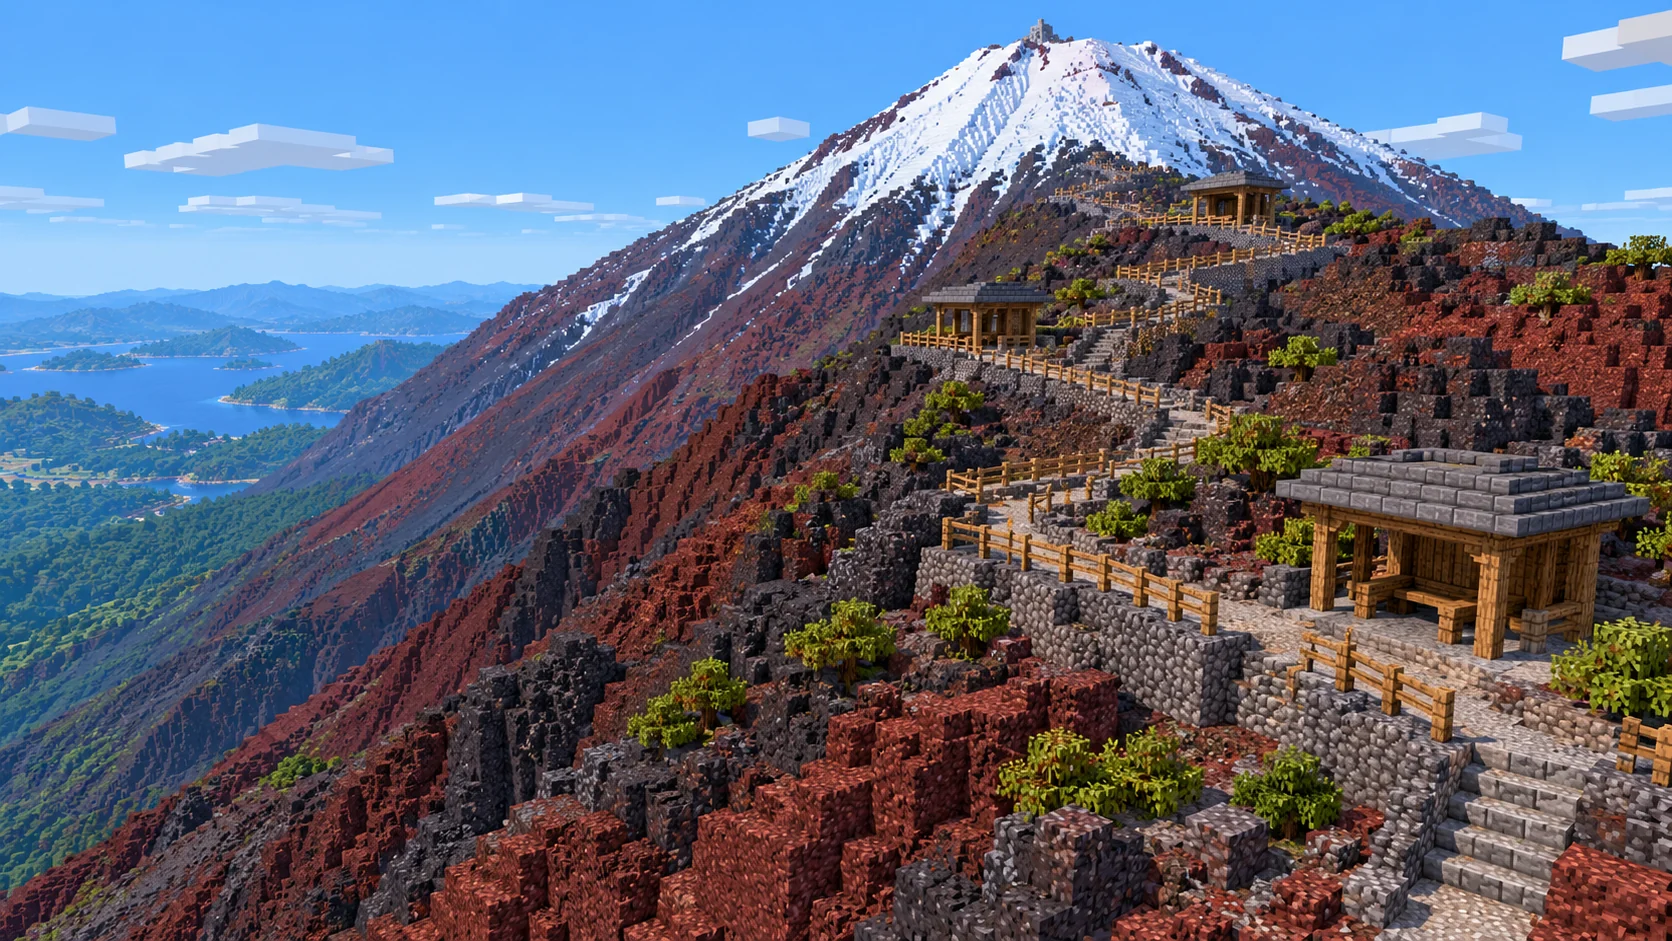
Illustrations. Generated worlds follow OpenStreetMap data and differ in detail.

03 / Why this city

Build along the slope and keep the crater open

The horizontal layout follows the source geography at about one block per meter. Height differences are compressed to fit Minecraft. In the Java sample, a line across the summit bowl drops about 30 blocks below the rim before climbing back out. Leave space beside the walking line so you can see that drop.

Build on the generated surface. In sampled parts of the Java world, a few layers of rock cover open space underneath. If you want solid ground below a lookout, add supports before expanding the platform. Join a couple of trail turns with stairs and place a stopping point where you can see the slope below.

The gallery shows what you could build with more detailed hut walls, paving and snow patterns. Snow on Fuji changes with the season. The pictures use it to make the rim and gullies legible, and the lake in the pictures is outside the download. Use the terrain and the route locations as a base for a build at whatever season you want to depict.

04 / Play

Best ways to play the Mount Fuji map

Challenge 01

Lay out a station walk on the Yoshida Trail

Put a first marker at the Subaru Line Fifth Station and decide how much of the traverse to keep before turning uphill. Use wider landings where a few players can stand at once. At the huts, switch the marker material so players know they have reached a stop even when the next turn is out of view. Try one section from below and from above before repeating the signs up the route.
Challenge 02

Walk the Ohachimeguri around the crater

Start at the top of the Yoshida route and build a narrow trail on the rim toward Kengamine. Put a marker where the line dips and climbs again. If one rocky shoulder is too steep for a continuous trail, route around the outside of that shoulder and rejoin the rim beyond it. Keep the center of the bowl visible from the highest stop.

Challenge 03

Give Fujinomiya a separate way up

Put a path entrance at Fujinomiya Fifth Station, then lead it toward the southern rim. Keep low markers near the hut sites and a wider meeting area at the top. Invite one player to start on the north side and one to start here. If both can find the same meeting point from their approach, you have a route that works for a group.

Challenge 04

Make a lookout above the Hoei craters

Follow the southeast slope until the smaller craters break the shape of the cone. Build a lookout on an outer ledge where you can see a crater floor and the rising slope behind it at the same time. Use dark and reddish blocks for the path edge. Keep the dramatic change in height visible by leaving the middle of the crater free of platforms.

05 / Download

Download and install

Download the Mount Fuji summit, Yoshida Trail and Subaru Line Fifth Station starting area as a ready-made world for Java or Bedrock Edition.

Java Edition

  1. UnzipExtract the ZIP to get a folder with level.dat inside.
  2. CopyMove the folder into .minecraft/saves.
  3. PlayOpen Minecraft Java Edition and choose Singleplayer.

Bedrock Edition

  1. OpenOn Windows, double-click the .mcworld file. On phones and tablets, open it with Minecraft.
  2. ImportMinecraft imports the world automatically.
  3. PlayFind the new world in your Worlds list and open it.

If the world does not show up

  • Java: check that level.dat sits directly inside the world folder, not one folder deeper.
  • Bedrock: if double-clicking does nothing, open Minecraft first and then open the .mcworld file again.
  • Open the world with the listed Minecraft version or a newer one.
  • Lower your render distance if a large city loads slowly at first.

Step-by-step help: Java import guide · Bedrock import guide

Mount Fuji mapMount Fuji summit, Yoshida Trail and Subaru Line Fifth Station

  • Java Edition

    ZIP world folder

    • 234 MB
    • 44.2 km²
    • Java 1.21.4
    Download free
  • Bedrock Edition

    .mcworld file

    • 125 MB
    • 44.2 km²
    • Bedrock 1.21.0.0
    Download free

No points are used for sample downloads.

06 / Customize

Customize this Mount Fuji map

Each area opens the generator with the rectangle already drawn. Move it, resize it or change the mode before you generate.

Mount Fuji Summit, Yoshida Trail & Subaru Line Fifth Station

44.2 km²

The 44.24 km² download area. Start at the Subaru Line Fifth Station and build along the Yoshida ascent or the Fujinomiya side, with both the summit bowl and the Hoei craters in view.

Open in generator

Mount Fuji Eastern Trailheads, Subashiri & Gotemba

29.9 km²

A separate selection of the eastern slope with the Subashiri Fifth Station and Gotemba New Fifth Station. Start lower and work on the forest paths and volcanic slopes near the trailheads.

Open in generator

Lake Kawaguchi, Oishi Park & Kawaguchiko Bridge

29.6 km²

A separate lake selection with Oishi Park, the north shore and Kawaguchiko Bridge. Use it for a waterfront build and keep the upper mountain as its own world.

Open in generator

07 / Limits

What to expect from the map data

  • The 44.24 km² rectangle runs from 35.333° to 35.4005° N and 138.696° to 138.761° E. The horizontal scale is about one meter per block. Both editions start in Creative at midday at (3318, 64, 685).
  • The Java archive reports dimensions of 5,893 × 7,505 blocks. Elevation data is compressed vertically to fit the mountain into the game. In the Java world, the sampled Kengamine column is about 38 blocks higher than a sampled column inside the summit bowl.
  • Mapped paths, roads and building footprints come from OpenStreetMap. A route on the real mountain can include small stairs or trail furniture that you need to add in Minecraft.
  • The images are build illustrations. The main world keeps to the upper mountain. The lake and its shoreline are in a separate selection. Keep the included OpenStreetMap attribution when sharing a world.
  • OpenStreetMap is edited by volunteers, so coverage varies from street to street, and recent changes may be missing.

Map data © OpenStreetMap contributors, available under the Open Database License. Generated with the open-source Arnis project.

Questions before you generate

Can I download these maps for free?

Yes. During the promotion, sign in to download any published city map for Java or Bedrock without using points or paying.

Where do I start on the Mount Fuji Minecraft map?

You start at the Fuji Subaru Line Fifth Station, near the road end on the north side. The main rectangle includes the Yoshida route, Kengamine and the summit crater, Fujinomiya Fifth Station and the Hoei craters.

How do I install the Mount Fuji map in Java Edition?

Download the 245 MB ZIP, saved in Java 1.21.4. Extract it to a world folder inside .minecraft/saves. Keep level.dat directly in the world folder, then open Arnis World 1 from Singleplayer.

How do I import the Mount Fuji map in Bedrock?

Open the 131 MB .mcworld file in Minecraft Bedrock on Windows, Android or iOS. Then choose Arnis World: 鳴沢村 from the Worlds screen.

Is the mountain 3,776 blocks tall?

Kengamine is 3,776 m above sea level in Japan. The map depicts the upper mountain and fits the difference in elevation into Minecraft’s vertical range. The horizontal layout is about one block per meter.

Is Lake Kawaguchi in the download?

Lake Kawaguchi is outside the upper mountain download. Use the Lake Kawaguchi preset for the bridge, Oishi Park and a section of the north shore.

Can I use this world on a server?

In Java, copy the world folder beside the server JAR and set level-name in server.properties. In Bedrock Dedicated Server, extract the .mcworld as a ZIP into its own folder inside worlds and use its folder name for level-name. Keep the attribution file when sharing the world.

More maps

Browse all city maps · City generator · Terrain generator